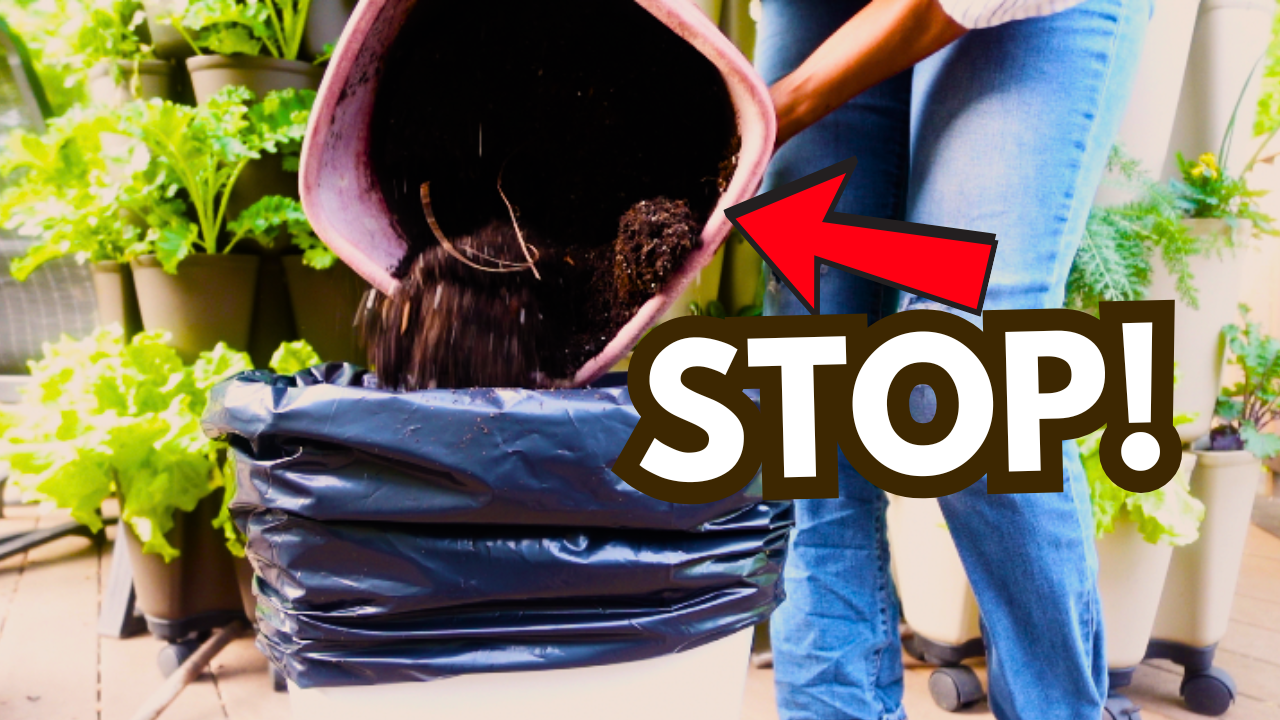
Quick honesty check: Ever dumped a pot full of soil into the trash thinking it was “used up”? If so, don’t worry—you’re not alone. But here’s the truth: that old soil still has a lot of life left in it, and throwing it away is basically tossing gardening gold into the landfill.
In this post, we’re covering exactly what to do with old potting soil so you can stretch your dollars, build richer soil, and keep your containers growing strong year after year. This isn’t just a gardening hack—it’s sustainable, smarter, and deeply satisfying.
Oh, and before we get started: Grab my free grocery savings guide and seasonal recipe cards and don’t forget to check out the Becoming a Farm Girl YouTube channel for videos like this one.
The Myth of “Spent” Soil (Let’s Bury It)
You don’t replace your backyard soil every spring, so why feel pressured to buy new potting soil for containers? The myth that soil is “used up” after one season comes from clever marketing, not real horticulture.
Old potting soil:
- Doesn’t expire
- Still holds organic matter
- Can be recharged with nutrients
- Often contains beneficial microbes
Sure, it may look a little tired, but that just means it’s time for a refresh—not a replacement.
Why Reusing Potting Soil Is Genius (Not Gross)
Wondering what to do with old potting soil? Reuse it because:
- It’s full of microbial life. Beneficial fungi, bacteria, and even earthworms often call your old mix home.
- It’s cost-effective. A single bag of potting mix isn’t cheap. Multiply that by a few containers, and it adds up fast.
- It’s sustainable. Potting mix components like peat moss and coconut coir are slow to renew. Reusing your mix reduces demand.
- It’s often better than new soil. Reused soil has “character,” humus, and microbial richness that sterile mix doesn’t.
How to Refresh and Reuse Your Potting Soil
Here’s what to do with old potting soil to bring it back to life:
1. Dump and Inspect
- Empty containers into a large bin or wheelbarrow.
- Pull out big root clumps and debris.
- Leave small roots—they decompose into compost.
2. Fluff It Up
- Break apart compacted chunks.
- Add light materials like perlite, coconut coir, or pine bark fines.
- Moistening dry soil helps make it workable.
3. Replenish Nutrients
- Add compost (homemade or store-bought).
- Sprinkle worm castings for a natural nutrient and microbe boost.
- Use organic fertilizer (balanced NPK like 4-4-4).
- Bonus: Mix in DIY additives like ground banana peels or crushed eggshells.
4. Optional Tweaks
- Test pH and adjust if needed.
- Top off with fresh soil if your container needs volume or seed-starting support.
- Water the mix to activate microbes before planting.
Your soil should now smell earthy, feel fluffy, and look dark and rich—basically, gardening brownie mix.
But What If My Old Soil Had Pests or Disease?
This is the #1 concern, so let’s break it down:
- Minor pests like fungus gnats? Let soil dry out or mix in neem cake.
- Plant-specific disease? Rotate crops (don’t plant tomatoes in tomato soil again).
- Severe disease? Solarize in the sun or spread in non-edible beds.
- Sterilization? As a last resort only (and skip baking it in your kitchen—your family will thank you).
Unless your plants were wiped out by a serious pathogen, there’s almost always a way to reuse that soil safely.
Special Tips for Container Gardeners and GreenStalk Users
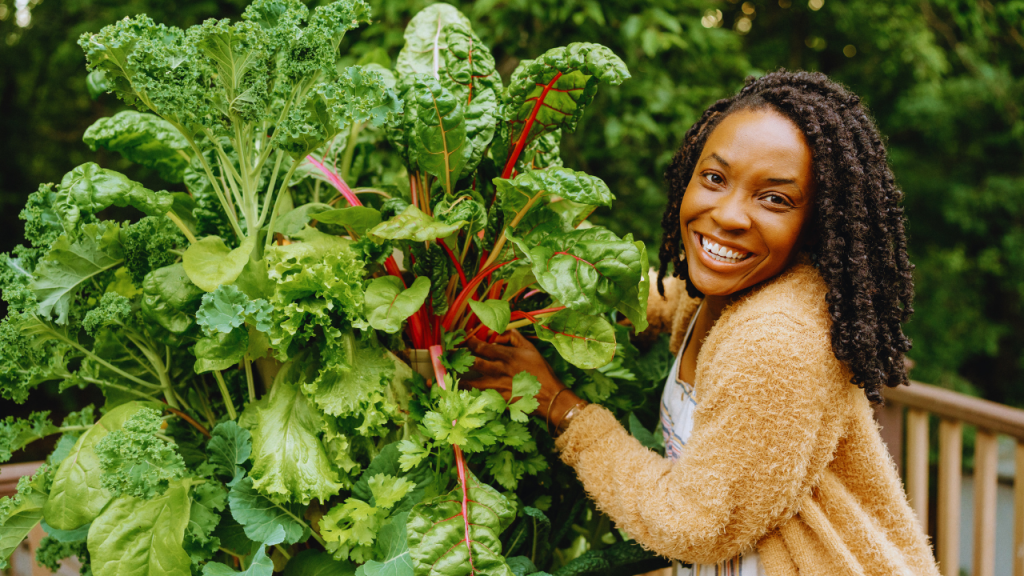
If you grow in containers or use a GreenStalk vertical planter (which I love), reusing soil is even more essential.
- You’re working with limited volume.
- Containers dry out faster, leaching nutrients.
- A GreenStalk takes 5+ cubic feet of mix—reuse saves $$$.
Refresh and rotate that soil, and you’ll have a thriving tower of produce in no time. (Psst… use my $10 GreenStalk discount link if you’re ready to try vertical growing!)
How Much Money You Can Save Reusing Potting Soil
Let’s talk numbers for a second. A single 1.5 cubic foot bag of quality potting soil costs anywhere from $8 to $15. If you’re refilling 10 containers or a full GreenStalk tower, you could be looking at $50 to $100+ every season.
Now multiply that by how many seasons you plan to garden. Over 5 years, you could easily spend $500 or more on fresh potting mix—or you could reuse and refresh what you have and cut that number by 70% to 90%.
Plus, many of the “amendments” I recommend are free or cheap (kitchen scraps, homemade compost, worm castings from your own bin). Even if you buy worm castings and compost, the cost is minimal compared to brand new soil every spring.
In short? Reusing your soil isn’t just smart gardening—it’s smart budgeting.
Science-Backed Reasons You Can Reuse Old Potting Soil
Still a little skeptical? Here are a few research-based and expert-backed articles that support everything we’ve discussed:
- University of Illinois Extension: Reusing Container Potting Mix
- Missouri Botanical Garden: Potting Soils and Reuse
- Washington State University: Compost and Soil Microbes
- Cornell Waste Management Institute: Organic Matter in Soil Health
- The Spruce: How to Reuse Potting Soil
These resources confirm what experienced gardeners already know: soil can be revitalized and reused with a few smart steps.
Common FAQs About Reusing Potting Soil
“How many seasons can I reuse soil?”
As many as you want—just keep amending it. Some gardeners reuse soil for a decade.
“What if I see white fuzz or worms?”
That’s good! The fuzz is beneficial fungus. Worms = free garden labor.
“Is it cheating to mix in new soil?”
Nope. Combining old and new is a smart way to stretch supplies.
Final Thoughts: Don’t Dump Your Dirt
So now you know what to do with old potting soil: refresh it, reuse it, and let it grow even better plants than before.
You’re not just saving money—you’re becoming a more self-reliant, sustainable grower. That tired-looking soil? With a little love, it’ll be the secret sauce to next season’s success.
Got your own soil reuse tip? Drop it in the comments below. And while you’re here:
- Grab your free grocery guide and seasonal recipe cards.
- Watch the full video on Becoming a Farm Girl on YouTube.
Happy growing, and remember: Don’t dump your dirt! 🌿


